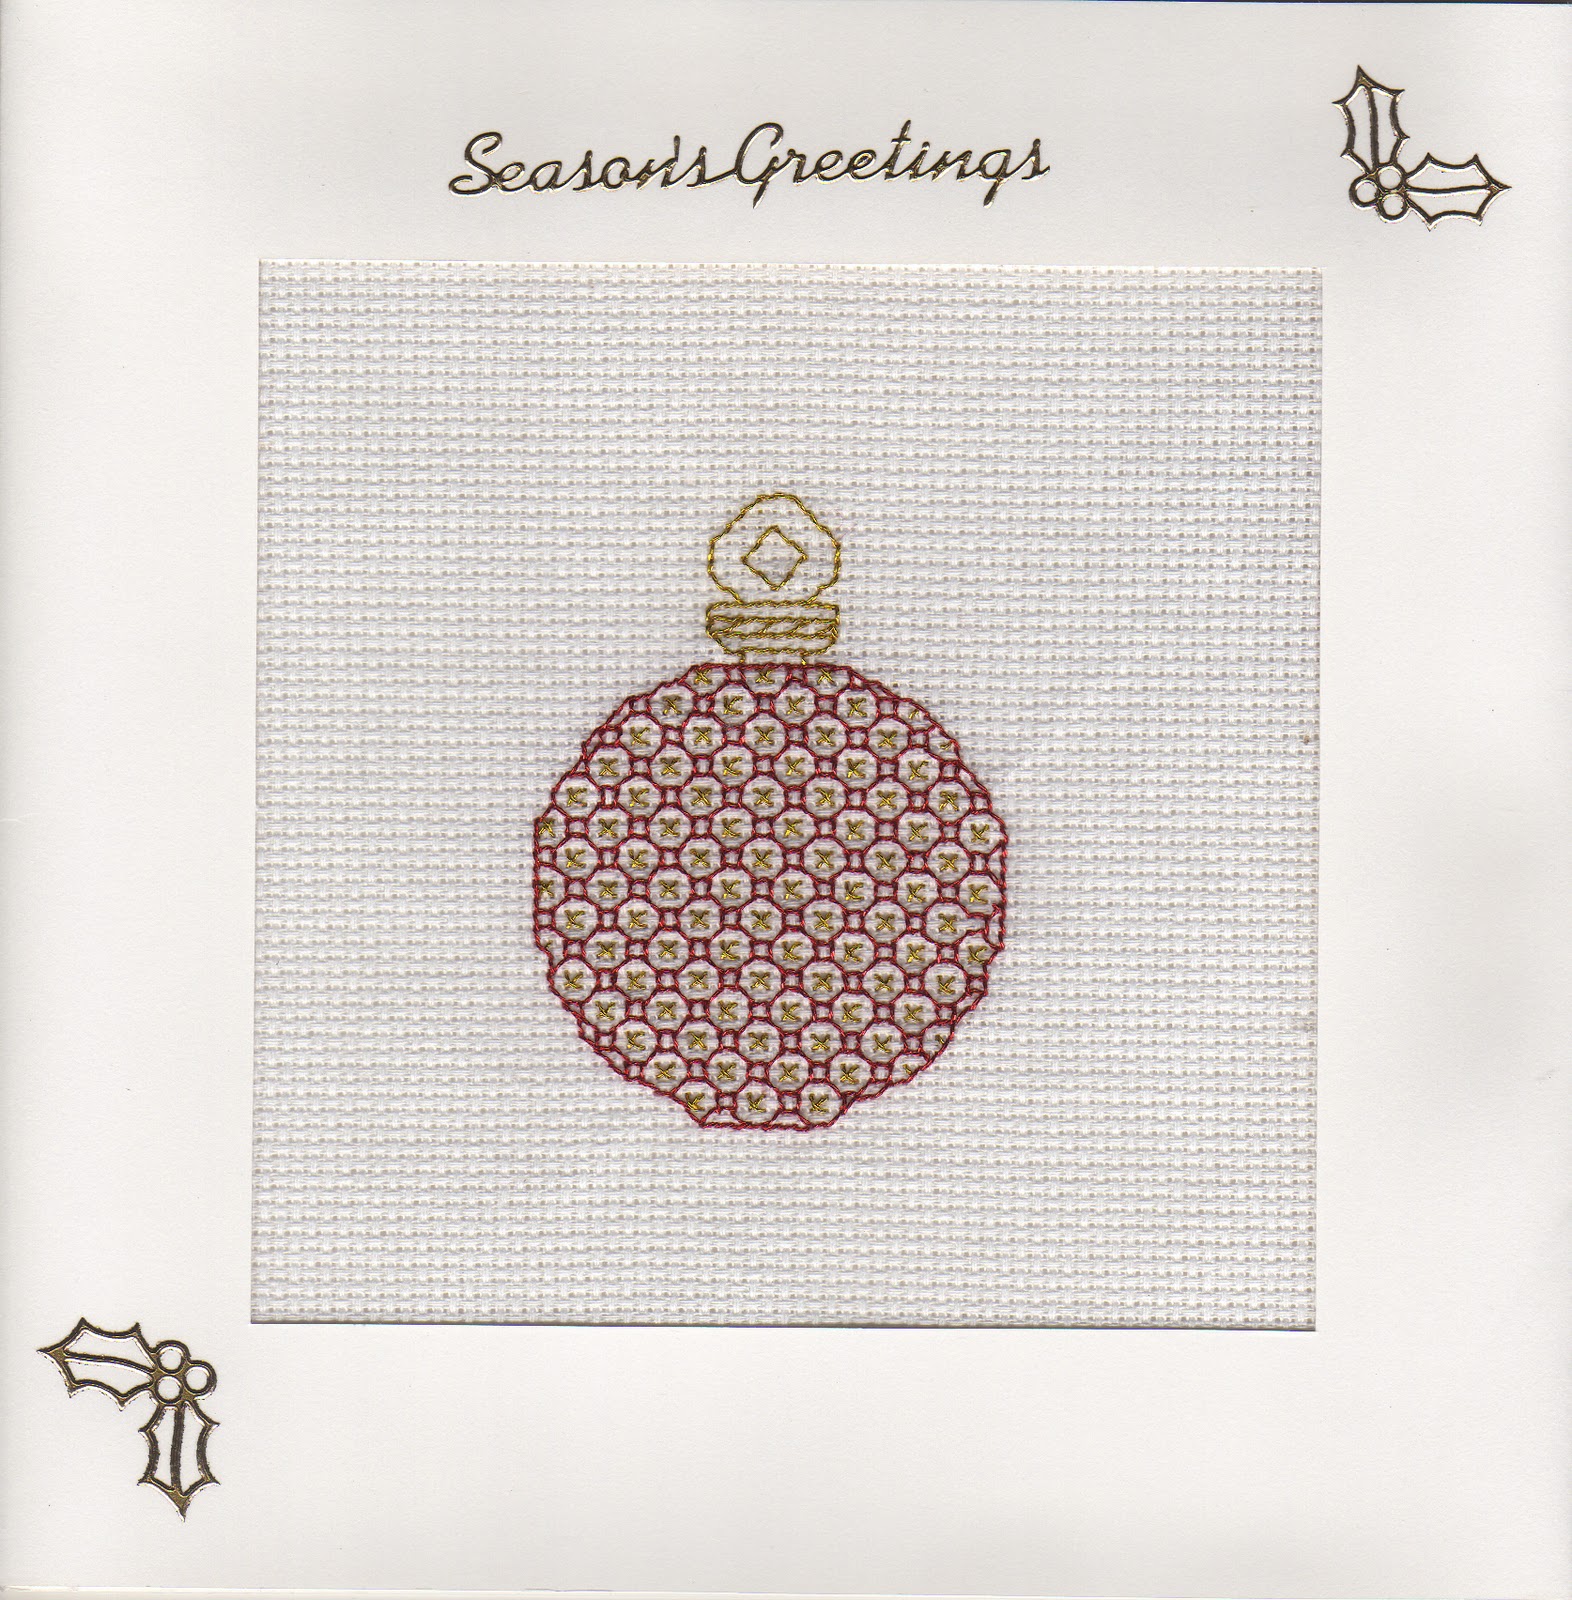
In my previous post, I mentioned that I’d tried my hand at stitching a
card using the prick and stitch
technique. Because I wasn’t sure if it was something I would take to and be any
good at, I’d only purchased the supplies I required to stitch the Stitching Cards design I had chosen for
the wedding card.
Well, as soon as I’d finished the card, I wasted no time in re-visiting
Stitching Cards to purchase several
more designs, along with a design from Form-A-Lines,
and the supplies I needed to stitch them (an ongoing process).
From Craft Creations, I
ordered a quantity of Hammer White double-fold cards, measuring 104mm X 152mm (DF03U),
and white Centura Pearl envelopes (CNTE2) to fit, which look more of a
pale-silver colour. All the designs require Kreinik
Cord thread (part of the Kreinik
Metallics range), and I was able to purchase the colours I needed from Sew and So.
Some of the designs I purchased require seed beads, bugle beads, or
both. Within the Tutorials section of
the Stitching Cards website, it states
that their designs are based on 2mm (size 10/0) seed beads, and 7mm (Czech size
3) bugle beads. From The Bead Shop I
ordered a pack of silver-lined medium-gold seed beads (which look great), a
pack of transparent green seed beads, and a pack of transparent blue seed beads
(which don’t look so great). The conclusion I have come to is that silver-lined
beads are a must, but trying to find stockists of 2mm (size 10/0) seed beads is a complete nightmare. There were several other colours of seed beads I was after,
but was unable to find. In addition, I bought a pack of Gütermann silver-lined green
(8320), red (4580), and gold (1870) bugle beads.
Anyway, it occurred to me that one of the designs I’d purchased would be
ideal for a Mother’s Day card (10th March in the UK). The same could be said for quite a few of the
other designs I had purchased, just that the one I opted to stitch really
appealed to me and immediately made me think of my mother. For the benefit of those of you who may not know, Mothering Sunday in the UK is celebrated on the fourth Sunday of Lent; three weeks before Easter Sunday.
Unlike the other prick and stitch
cards I’ve made, I can actually include an image of this one, which I really do
feel immensely proud of.
 | |
| Design Copyright © www.stitchingcards.com |
Now, I must admit that when it comes to colours, I’ve never been a fan
of pale pink, purple, or the shade of green thread that was used to stitch the
design. However, for the first day or so after finishing the stitching, I found
myself unable to stop smiling when I looked at the card, and feeling overjoyed
at how good the colours looked together.
Out of everything, I thought the addition of the seed beads would be the
tricky part, given the fact that they are so small. In actual fact, it was the
basket that proved to be the real challenge. The basket base was what I had
started working on first, and after the end of the thread had been sealed down on
the reverse of the card, it had worked its way loose. The only way I could get
to it was by unpicking the basket base and rim and starting again.
I could have stitched the words ‘Happy Mother’s Day’ on the card, using
one of the stitching fonts I’d downloaded from Stitching Cards. I decided against it though, thinking that if my
mother wanted to frame the card, the design would look better as it was.
The Tutorials section on the Stitching Cards website suggests the use
of a No.10 embroidery needle for stitching, and a size 10 beading needle. I’m
not actually sure what size beading needle I used to add the gold beads, just
that it was from a pack of John James
size 10/13 beading needles. For the stitching, I used a John James size 28 cross-stitch/tapestry needle.
When I have previously used beading needles to add beads to cross-stitch
and blackwork projects, it hasn’t always been easy to get the needle to come up
through the right place on the Aida. This is not a problem when stitching
directly on to card.
If you study the Flower Basket image, you will see there are five seed beads at the
centres of the flowers with five petals. For each section, I passed the needle
through the first four beads twice, and three times for the fifth bead, just to ensure the beads would be secure.
I did read in the Tutorials
section that the pricked holes can be made less noticeable by placing the card
face down on a hard surface, and rubbing gently across the stitched work with
the back of a teaspoon. However, this is not recommended for cards with beads.
Personally, I think the appearance of the pricked holes adds to the overall
charm.
There’s a fascinating article on the StitchingCards website that provides a brief history about the progression of string
art to stitching cards. It includes a link to the website String Art Fun, which is part of the Stitching Cards family and well worth a visit.
Anyway, the card was greatly appreciated by my mother, who informed me
that if it is viewed upside down, it looks like a hat, so let’s test this out.

When an aunt visited my mother and saw the Mother’s Day card, she asked
if I’d ever considered selling my cards on eBay. I’ve received wonderful
comments from the recipients of stitched greeting cards I’ve made in the past,
and although I’ve often thought about selling them, I’ve never put the wheels
in motion. My aunt’s comment spurred me into rectifying that, and I’ve since set
up an Etsy shop. It’s not open for
business yet because I need to build up a collection of stock to sell, but
watch this space, as they say.